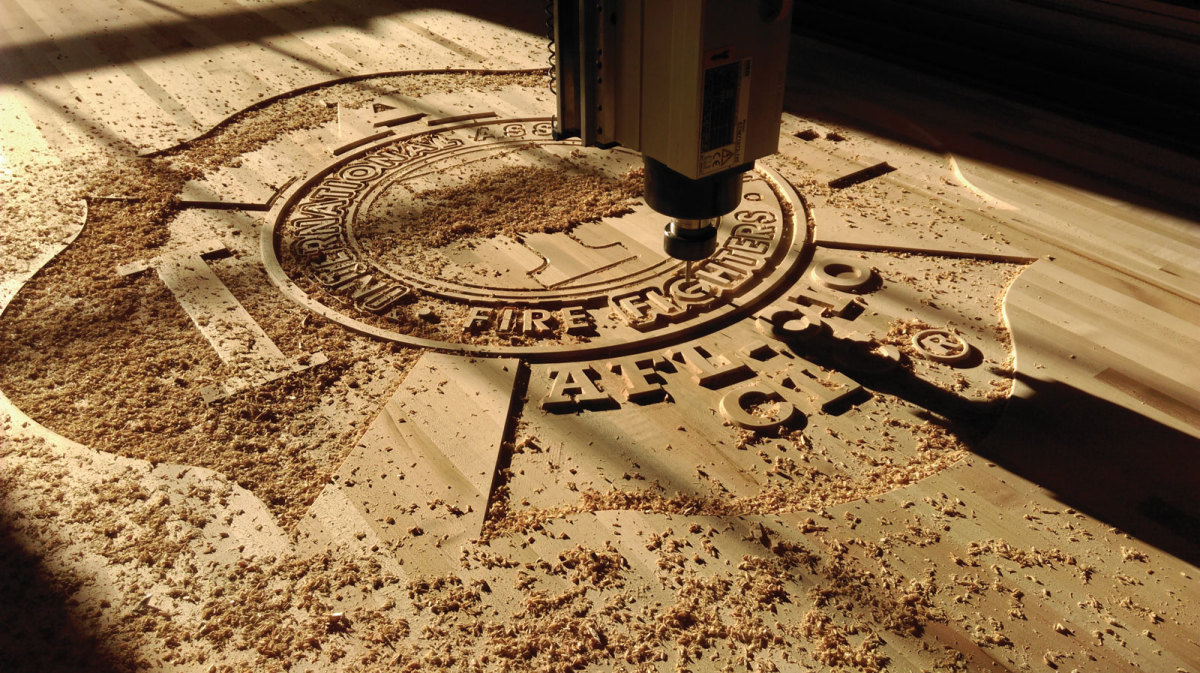
CNC router machines have several uses. From modern-day sculpting to engraving and wood carving, there are no limitations to what a router can do for you in professional and personal ways.
Engraving wood signs is a time-honored tradition that has been here for many years. From welcome signs in homes or businesses to door markers, CNC router signs have paved new ways for people to get high-quality displays without needing to take up sculpture or advanced carpentry.
Even though there are many platforms, such as Etsy, where you can purchase custom CNC signs, if you have the right tools, you can do it yourself. When you need a sign for the workplace, or you want to spice up your house with a unique and special thing, there are different kinds of CNC signs you can make.
While CNC sign-making might seem complicated, it’s just a matter of using creativity and ensuring you have the proper tools for the project.
How to make custom CNC router signs
Creating custom CNC signs isn’t different from other CNC projects. Even though you can download the pre-created templates and personalize them to your preferences, you might want to create your CNC router signs from scratch. Here is how to get started.
Design the signs
This goes without saying. The first phase of CNC sign creation is to get your preferred design tool and start working. It is useful to know where the sign will be used before designing it. Take the appropriate measurements and note the size you want the signs to be. This is essential if you want to make uniquely shaped signs. Software such as AutoCAD and IntelliCAD are perfect for making text-based signs.
Prepare the materials
Whether you are creating metal or wood CNC signs, you need to ensure you have the right type and size of materials for your router to work with.
Based on the size and abilities of the CNC router, you need a good idea of how to prepare your engraving materials. If you’ve been using a CNC router, this should be easy.
Double-check the settings
Before turning the machine on, ensure your settings are in order. The settings comprise the design, the depth, and the toolpath. There is nothing worse for a creator or artist than wasted engraving materials. Therefore, you need to double-check the settings before you start.
Turn it on
When you are sure the settings are correct and you are satisfied with everything, turn on the machine.
Removing and post-process
When the machining is complete, safely remove the CNC router sign and start post-processing. Based on the type of sign you create and with what material, this can include sanding, polishing, varnishing, and painting. Make sure to plan the post-processing to ensure you do not accidentally do things you shouldn’t and ruin your work.